
Stuck on a locked corridor gate, spinning gear rack, or the alternating red-and-blue floor tiles inThe Experiment: Room Escape 3D? You wake up inside Doctor Di Nero’s underground facility with only a reel-to-reel audio log and an interconnected gauntlet of 3D mechanical chambers between you and freedom. This complete, step-by-step walkthrough breaks down every room solution, exact lever order, and maze rule from opening tape to ending cutscene.
Quick Controls & Navigation Tips
- Look Around (360° Camera):Hold and drag anywhere on screen to orbit the room camera smoothly (vertical tilt is bounded cleanly so you never lose your bearings).
- Move Between Nodes:Click the translucent magnifying-glass orb spheres hovering above walkable floor tiles to step forward or back to adjacent machines.
- Play Free Anywhere:Play instantly with zero downloads on theThe Experiment Browser Edition, or download onAndroid (Google Play)andiOS (App Store).
All Puzzle Codes & Solutions at a Glance
Prologue: Doctor Di Nero’s Audio Log
You open your eyes inside a dimly lit hallway looking down at a heavy wooden desk. Click the scene to walk forward until you stand over the desk carrying Doctor Di Nero’s notebook and a vintage reel-to-reel tape recorder. Inspecting the notebook zooms in on the cover markings, while pressing Play spins the twin tape reels for Doctor Di Nero’s chilling 19-second briefing explaining why you have been locked inside his facility. Once the tape finishes—or immediately if you click Play on subsequent runs—you step into the first trapped corridor.
Stage 1: First Corridor – Twin Saw Blades & Gear Alignment
The opening corridor tests both observation and spatial timing before you even reach the first numbered room. Two swinging pendulum arms fitted with spinning circular saws block the narrow wooden hall ahead.
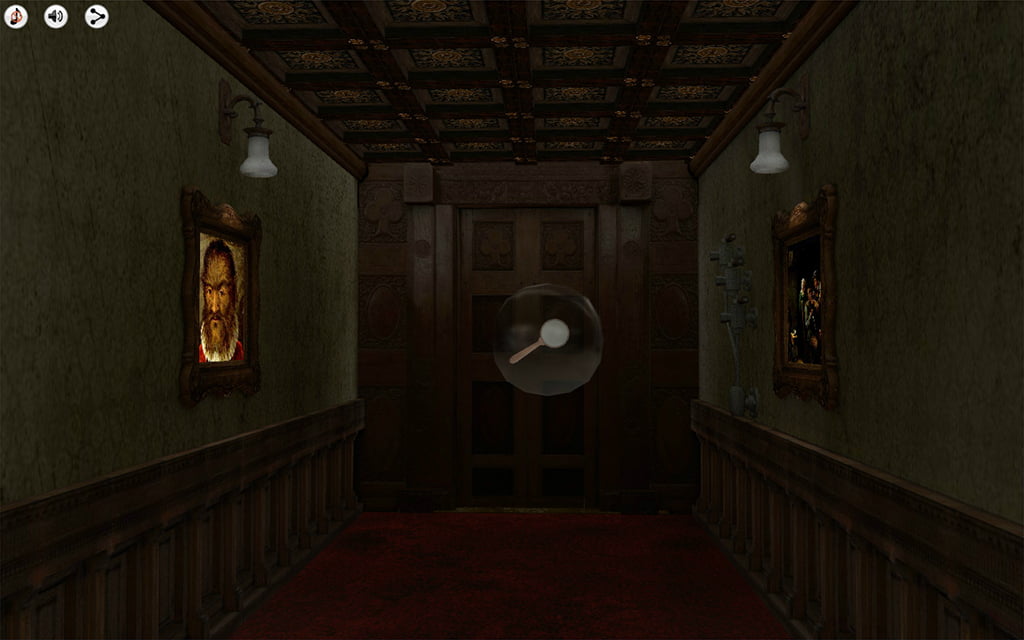
- Shut Down the Twin Saws (7-Gear Lock):Move to the corridor wall mechanism holding seven stacked rotating rings. Use theSelector Switch(horizontal metal handle) to cycle focus from wheel 1 down to wheel 7—each tap nudges the currently selected wheel slightly so you can see which ring is active. Pull theMain Wall Leverto rotate that selected wheel by 90 degrees. Rotate every ring until all seven notches sit upright in straight alignment (0°). As soon as the last gear locks in place, the saw motors power down and retract up into the ceiling.
- Unlock the Double Corridor Doors (3-Lever Sequence):Walk past the raised saw arms to the three wall levers guarding the double doors. Pull them in strict left-to-right order:
Lever 1 → Lever 2 → Lever 3. Any wrong pull drops all three handles back to rest. - Open the Room 1 Entrance:Step through the opened double doors and pull the floor-mounted exit lever to swing open the heavy timber door intoRoom 1.
Stage 2: Room 1 (The Lounge) – Bookcase & Boiler Console
Room 1 is an eerie Victorian-style sitting room featuring leather armchairs, a patterned rug, a tall wooden bookcase, and an industrial brass-and-iron Boiler Console wired directly to the exit door handle.
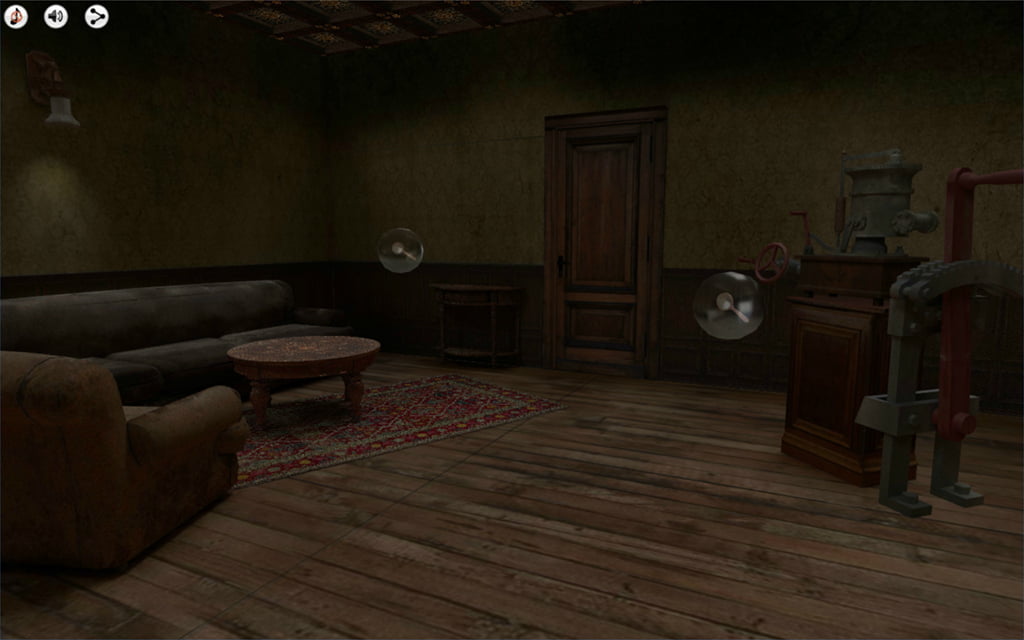
- Trigger the Wall Cabinet:From the center of the lounge, click the small antique wall cabinet beside the sofa. The camera automatically pans over to the tall bookcase, pushing a single trigger volume slightly outward from the shelf.
- Pull the Protruding Book:Click the sticking-out book on the bookcase. This releases the magnetic lock holding the red valve wheel on the tallBoiler Consoleacross the room.
- Bleed Pressure on the Boiler Wheel:Approach the Boiler Console and click the red side wheel repeatedly (roughly seven or eight turns). Each turn rotates the valve and cracks the top iron hatch open slightly wider until it flips completely open with a hiss of steam.
- Release the Double-Stage Exit Latch:Pull down the newly freedBoiler Lever. This drops the iron safety cover guarding a tiny secondary release tab near the floor switch. Click that small release tab first, then pull the largeMain Exit Leverto swing open the door to Corridor 2.
Stage 3: Second Corridor – Shape Sockets & 6-Lever Code
The second hallway splits into two sequential mechanical barriers: a geometric mounting panel and a six-handle wall panel near the far door.
- Shape Socket Lock (2 of 3 Pieces):You are presented with three carved shapes—aCube, anUpward Triangle, and aDownward Triangle—alongside two mounting cones (Cone 1 and Cone 2). Notice that the Upward Triangle is a decoy! Select theCubeand mount it onCone 1(left socket), then select theDownward Triangleand mount it onCone 2(right socket). The double corridor doors will unlatch immediately. Pull the floor lever beyond them to advance down the hallway.
- 6-Lever Wall Lock Solution:Near the end of Corridor 2, six numbered levers lock the door to Room 2. Pull them in this exact order without misclicking:
5 → 1 → 4 → 3 → 2 → 6. When the sixth handle drops, the far door unlocks intoRoom 2.
Stage 4: Room 2 – Rotating Cube Dial & Giant Silo Grid
Room 2 houses two large brass-and-steel machines, each unlocking one of the chamber’s two perimeter doors. Complete both machines to open the path forward into Corridor 3.
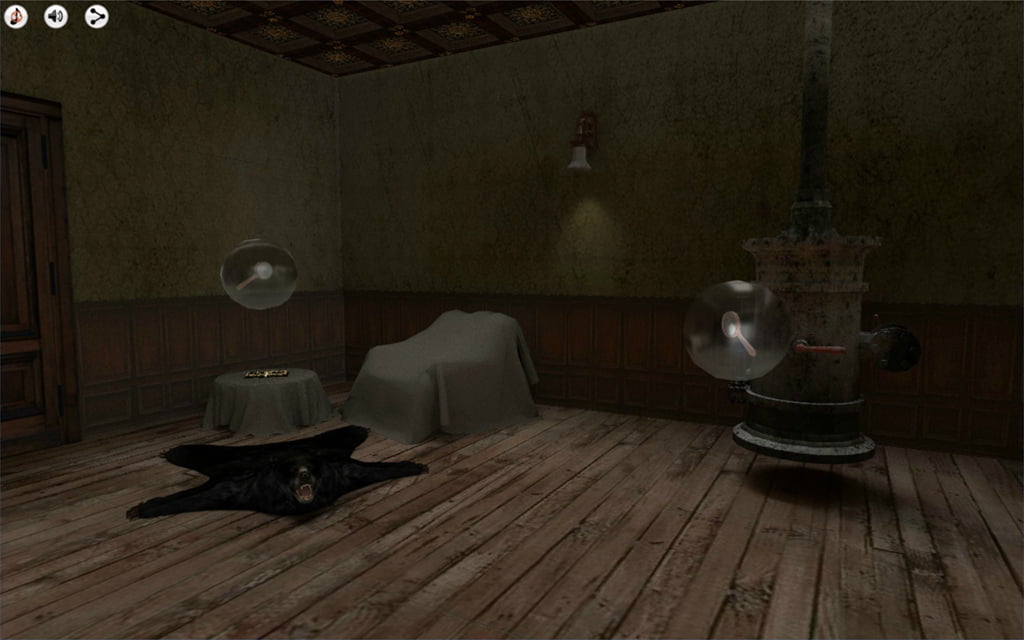
Machine 1: Rotating Cube & 5-Step Random Dial
- Phase 1 (Preset Sequence):The central cube pedestal has four surrounding levers labeled 1 through 4. Pull them in the fixed sequence
1 → 4 → 3 → 2 → 1. - Phase 2 (Mirror the Overhead Dial):Completing Phase 1 awakens the circular brass indicator dial above the machine. Watch closely: the dial spins and pauses brieflyfive times, pointing toward levers 1, 2, 3, or 4 on each beat. Repeat those exact 5 lever pulls in order. Doing so drops the overhead locking beam and unlocks Door 3 intoCorridor 3.
Machine 2: The Giant Silo 3D Cube Grid
- Rotate the Silo Core:Pull the upright side lever on the cylindrical silo (Leva Silo) to swing its armored plating toward you and zoom into a 3D wall of rotatable square cube tiles.
- Align All Cube Faces Flat:Click each cube tile (90° per tap) until every face on the grid lies flush and points straight forward at the unified pattern alignment (0° rotation on every cube).
- Turn the Release Crank:Pull the side crank knob on the silo housing to release the locking bolts on the secondary chamber exit.
Stage 5: Third Corridor – Ball Plunger, 3×3 Slide & 16-Tile Memory
Corridor 3 combines dexterity with classic logic across three back-to-back gauntlets:
- 1. The Rotating Blades Ball Plunger:Press and hold the air-pressure button to thrust the white sphere upward against gravity, releasing briefly whenever you need to drop beneath one of the sweeping hazard arms. Do not let the sphere touch a swinging arm or fall below the bottom duct rail—keep it alive inside the safe zone while the double doors slowly grind open!
- 2. 3×3 Wooden Sliding Tile Puzzle:Each game shuffles the eight square tiles inside a 3×3 tray leaving the corner gap free.Pro strategy:solve the top row (tiles 1, 2, 3) first and leave them locked in place, then align the leftmost column before cycling the remaining three tiles clockwise into order. Once solved, pull the unlocked floor lever ahead to open the side chamber door.
- 3. Zero-Mistake 16-Tile Memory Board:The wall closes sixteen carved symbol tiles face-down. Flip two at a time to clear all eight pairs cleanly.Careful:a single mismatch triggers a ceiling beam drop and screen shake that resetsall sixteen tilesface-down! Take one step at a time and mentally map flipped symbols before clicking the second tile. Completing the board slides a heavy secret cabinet aside, exposing the wall lever that unlocks the twin gates intoCorridor 4.
Stage 6: Final Corridor – Direction Sign Maze 1 & Color-Parity Maze 2
The final stretch ofThe Experiment: Room Escape 3Dholds the puzzle players get stuck on most often: two grid-based Direction Sign Mazes where you steer a mechanical pawn toward aWINplate using directional arrow pads.
Maze 1 vs. Maze 2 Rules Explained
- Direction Sign Maze 1 (Up & Right Arrows Only):You only haveForward (Up)andTurn Right 90° + Stepcontrols. Crucially, the mechanism forbids two Right turns in a row—after every Right turn, your very next commandmust be Up (Forward)or the pawn immediately resets to start! Avoid blocked corridor dead-ends and guide the pawn cleanly onto the exit plate.
- Direction Sign Maze 2 (Alternating Red & Blue Parity):Maze 2 unlocks your Left Turn arrow alongside Up and Right, shifting to a top-down board view after your first click. Look closely at the colored nodes on the floor: your pawn begins inRed State. You must step onto aRed marker first—stepping on a Blue marker resets the puzzle. Hitting a Red marker flips your pawn toBlue State, so your next color checkpointmust be Blue, which flips you back to Red. Keep alternating
Red → Blue → Red → Blueuntil you land on the final WIN square!
As soon as Maze 2 completes, the final corridor double doors swing wide. Walk onto the final floor node to trigger Doctor Di Nero’s closing tape recording and escape the mansion!
Play The Experiment Free Now & Try More Rabbit Bay Escapes
Ready to put this walkthrough to the test—or tackle our other hand-crafted 3D escape adventures? LaunchThe Experimentdirectly in your browser or check out what else awaits in the Rabbit Bay catalog.
- Play Instant Browser Version:The Experiment – Play Free Online (WebGL)
- Game Overview:Inside Doctor Di Nero’s Clandestine Laboratory
- Mobile Editions:Android (Google Play)•iOS (App Store)
- Next Challenge:Follow ourEscape the Prison Complete Walkthroughor wishlistAs Duty Demands on Steam!
Subscribe to the Newsletter!